Topic 3 · Motion
Timing One Frame at a Time
Step 1: Pick a frame rate you can sustain
Cinema runs at 24 frames per second. Many stop-motion features shoot "on twos", holding each pose for two frames, which means 12 new images every second. For your first projects, simply set your app to 12 frames per second. It halves the work and still looks smooth for objects.
Always think in frames, not seconds. A two-second shot at 12 fps is 24 photos. Knowing that number before you start keeps a test small and finishable.
| Frame rate | Photos for 2 seconds | How it tends to feel |
|---|---|---|
| 8 fps | 16 | Choppy, playful, handmade |
| 12 fps | 24 | Smooth enough; ideal first setting |
| 15 fps | 30 | Softer, a little more fluid |
| 24 fps | 48 | Very smooth; demanding to shoot |
Step 2: Understand timing versus spacing
Timing is how many frames an action takes. Spacing is how far the object moves between each of those frames. Two actions can take the same 12 frames and feel completely different because of spacing.
Real objects rarely move at constant speed. They start slowly, pick up pace and slow again before stopping. Animators call this easing in and easing out. Practically, it means your first and last few moves are tiny and the middle moves are larger.
A ruler or a strip of masking tape marked in pencil along the floor helps. Mark your positions before shooting so spacing is planned, not guessed.
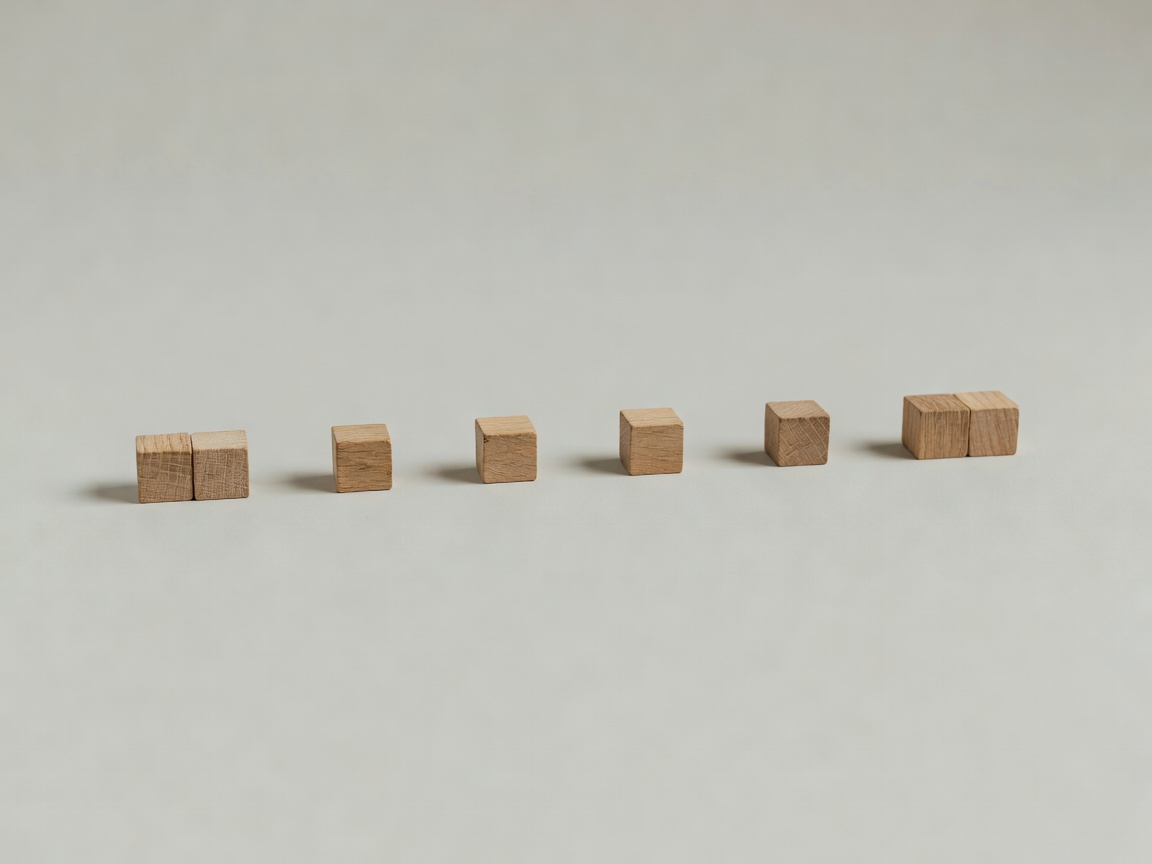
- 1
- 2
- 3
- 4
- 5
- 6
Ease out: the gaps shrink as the object arrives.
Step 3: Shoot your tiny motion test
This is the exercise every page on this site points to. It takes about thirty minutes and needs nothing you have to buy.
- Set the app to 12 fps and lock exposure.
- Place one object at the left of frame. Mark 24 positions on tape, close together at both ends.
- Shoot 4 frames without moving it: a hold.
- Move it to each mark, one frame per mark, for 16 frames.
- Shoot 4 final frames holding still at the end.
- Play back on loop. Note one thing to change.
- Shoot it again with that single change.
Comparing take one and take two is where you learn. Keep both.
Step 4: Add arcs and weight
Living things and thrown objects travel in arcs, not straight lines. When your cup hops, plot its path as a curve: up, peak, down. Hang the cup from a rig or prop it on putty at each height (see Practical Tricks Behind the Shot).
Weight comes from timing at the extremes. A heavy object sinks slowly into a landing and barely bounces. A light ping-pong ball bounces several times, each lower and quicker. The bouncing ball is the classic exercise in Richard Williams' The Animator's Survival Kit (2001), and it translates perfectly to a marble on a table.
Try the same hop twice: once as a heavy mug, once as a paper cup. Same path, different spacing at the bottom.
Step 5: Use onion skin and loop often
Onion skinning overlays a faint ghost of the previous frame on your live view. It shows exactly how far you are about to move the object. Dragonframe, used on productions at studios such as Laika and Aardman, offers it, and so do mobile apps like Stop Motion Studio.
Play back every ten frames. If one frame jumps, delete it and reshoot from that point, or accept it and keep going; a small "boil" is part of the medium's charm. The aim is a finished shot you learned from, not a perfect one.