Topic 4 · Effects
Practical Tricks Behind the Shot
Step 1: Support the impossible with a rig
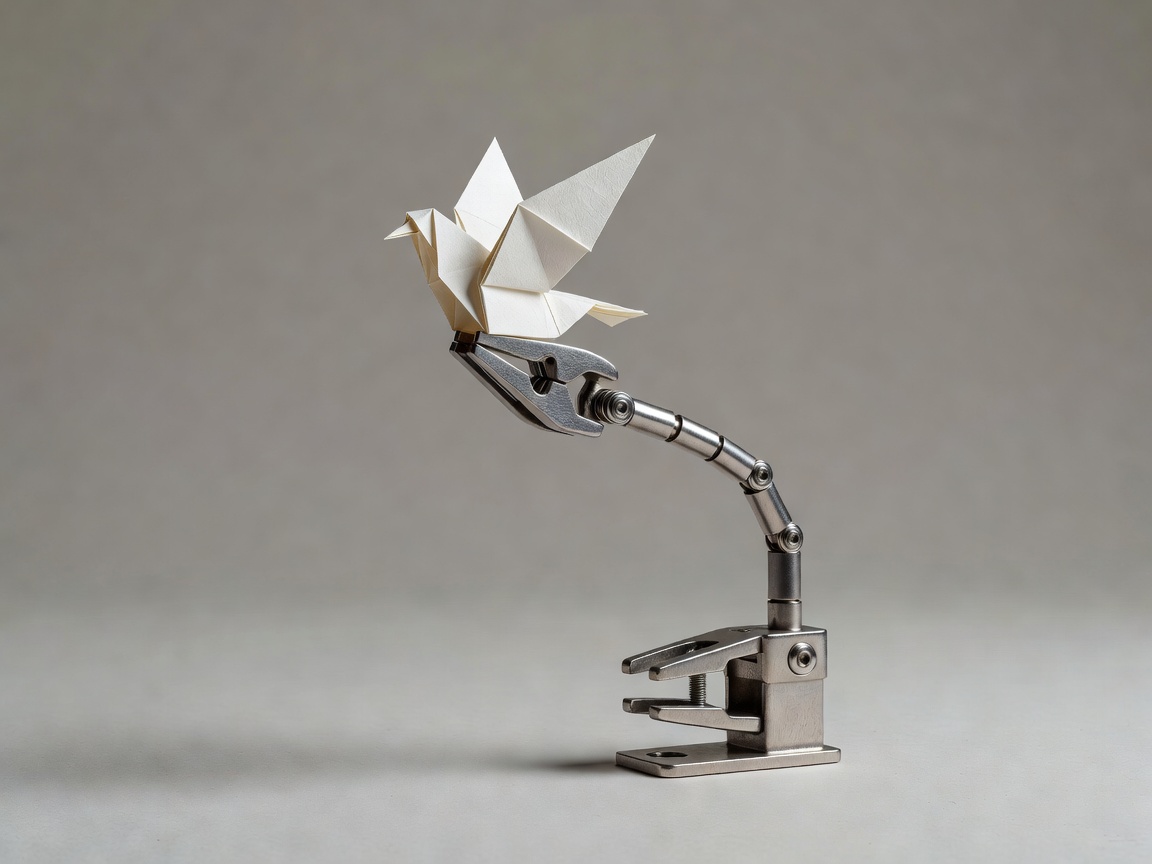
Anything that leaves the ground needs support: a jumping cup, a flying paper bird, a pencil balanced on its tip. Animators call that support a rig. Yours can be a bendable desk-lamp arm, a "helping hands" soldering clamp, or a length of thick aluminium wire pushed into a block of putty.
Position the rig behind or below the object, away from the camera's view where possible. Whatever stays visible, you will remove later, so keep it thin and simple.
The pioneers did this the hard way. Willis O'Brien animated King Kong (1933) with hidden supports and glass paintings, and Ray Harryhausen's skeleton fight in Jason and the Argonauts (1963) combined puppets with live-action footage using his "Dynamation" technique.
Step 2: Shoot a clean plate, then paint it out
A clean plate is a photo of the set with nothing in it but the background. Take one before you place the object and, if your light might drift, take another every twenty frames or so.
Later, in any image editor that supports layers, stack each rigged frame above the clean plate and erase the rig from the top layer. The empty background shows through. Free tools such as GIMP or Krita handle this well, and Dragonframe includes dedicated rig-removal tools.
- Lock camera and lights.
- Capture the clean plate.
- Animate with the rig in place.
- Layer each frame over the plate and erase the rig.
- Play back and check edges for flicker.
Step 3: Make weather and elements by hand
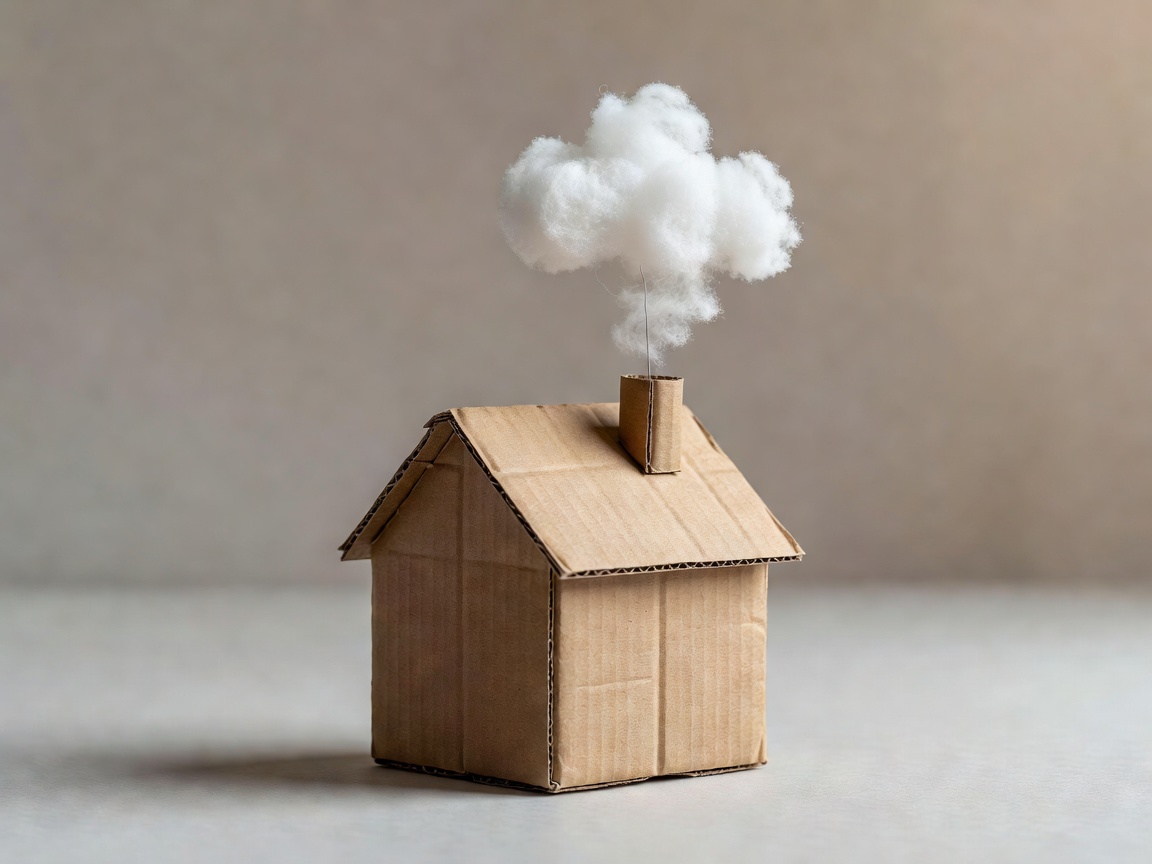
Handmade effects are where stop-motion becomes delightful. A few tested recipes:
- Smoke: pull cotton wool into wisps, mount on wire, replace with a slightly larger wisp each frame.
- Water: crumpled cling film over blue-green paper, shifted a few millimetres per frame.
- Fire: strips of orange tissue paper, swapped between three or four cut shapes in random order.
- Rain: scratch lines onto clear acetate in front of the lens and slide it down.
Swapping between pre-made shapes is called replacement animation. Laika took it to an extraordinary scale with 3D-printed faces on Coraline and later films.
Step 4: Try motion experiments
Stop-motion is not only for objects. Pixilation animates real people frame by frame; Norman McLaren's Neighbours (1952), made at the National Film Board of Canada, made people glide across lawns impossibly and won an Academy Award.
Try making a friend "float" by photographing them at the top of a jump, frame after frame, shifting a few centimetres each time. Or try light painting: in a dark room, use a long exposure for every frame and draw with a torch, changing the shape slightly between frames.
These experiments are fast, cheap and teach spacing just as well as a puppet does.
Step 5: Stay safe at the bench
Practical effects involve hot lamps, hot glue and sharp blades. A few habits prevent most accidents. Supervise children closely, and never use real flame or smoke indoors for a shot; the paper and cotton versions above look better on camera anyway.
When you finish, strike the set slowly and keep the rig pieces. You will reuse them for years.