Topic 2 · Setup
Small Sets, Believable Worlds
Step 1: Choose a scale and stick to it
A miniature world feels believable when everything in it agrees about size. Dollhouse makers commonly work at 1:12, where one inch represents one foot, and that is a comfortable scale for tabletop animation: a door is about 17 centimetres tall, a chair seat sits around 4 centimetres off the floor.
You do not have to measure every prop, but decide early. If your hero is a 9-centimetre cup, a pencil becomes a fallen tree and a matchbox becomes a bed. Write the conversion on a card so you stay consistent when you build new pieces next week.
Professional productions such as Laika's Coraline (2009) built sets at puppet scale with astonishing detail, but the principle is identical on your desk: the eye trusts a world whose proportions hold together.
Step 2: Build a base that cannot shift
The set floor is the foundation of every frame. A sheet of 6 mm plywood or MDF, clamped to the table with two G-clamps, is the classic answer. A large hardback book taped down with masking tape works for a first test. Whatever you use, it must not slide when you lean on the table.
Objects need holding too. Museum putty or Blu Tack keeps a cup upright mid-step. Puppet studios drill tie-down holes through the set floor and screw puppet feet in from below, or use strong magnets under a thin floor. For paper props, a tiny loop of double-sided tape is often enough.
Then look for hidden movers: a tablecloth that creeps, a cardboard wall that bends in warm air, a cable you keep brushing. Tape all of them.
Step 3: Control the light
Flicker is the most common beginner problem, and it is almost always light. Daylight changes constantly as clouds pass, so close the curtains and light the set yourself.
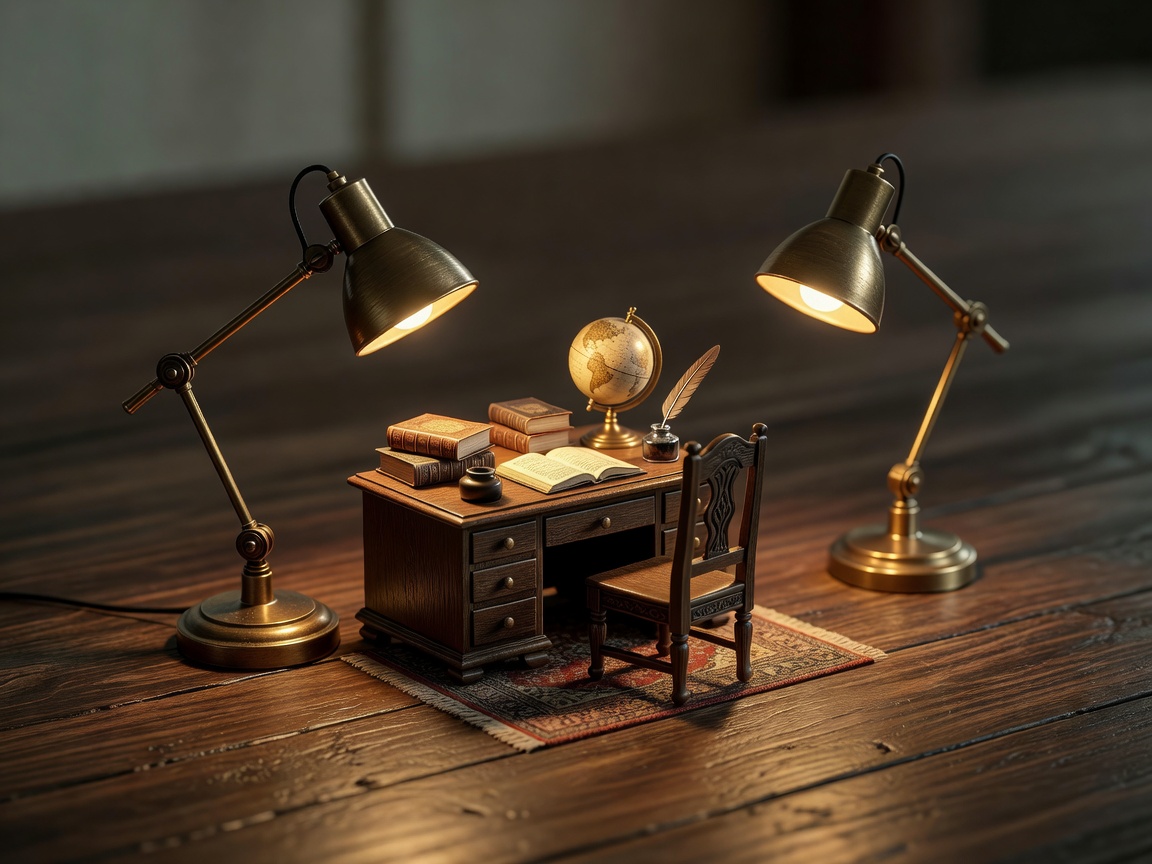
Two lamps are enough. A key light from one side shapes the object; a dimmer fill light or a sheet of white card on the other side softens shadows. LED desk lamps work well because they stay cool near paper.
Next, lock your camera. Most stop-motion apps, and professional software such as Dragonframe, let you fix exposure, focus and white balance. If the phone keeps re-adjusting, every frame will be a slightly different brightness.
Finally, watch your own shadow. Wear dark clothing and stand in the same place for every capture.
Step 4: Lock the camera position
The camera is part of the set. Mount the phone on a small tripod with a phone clamp, or wedge it in a stack of books and tape the stack to the table. Never hold it by hand for a stop-motion shot.
Tapping the screen to take a picture can nudge the phone. Use a self-timer, a Bluetooth remote, or a second device as a remote trigger. Many apps offer this function.
Frame wider than you think you need. A little room around the action gives you space to crop or stabilise later.
Step 5: Dress the world for believability
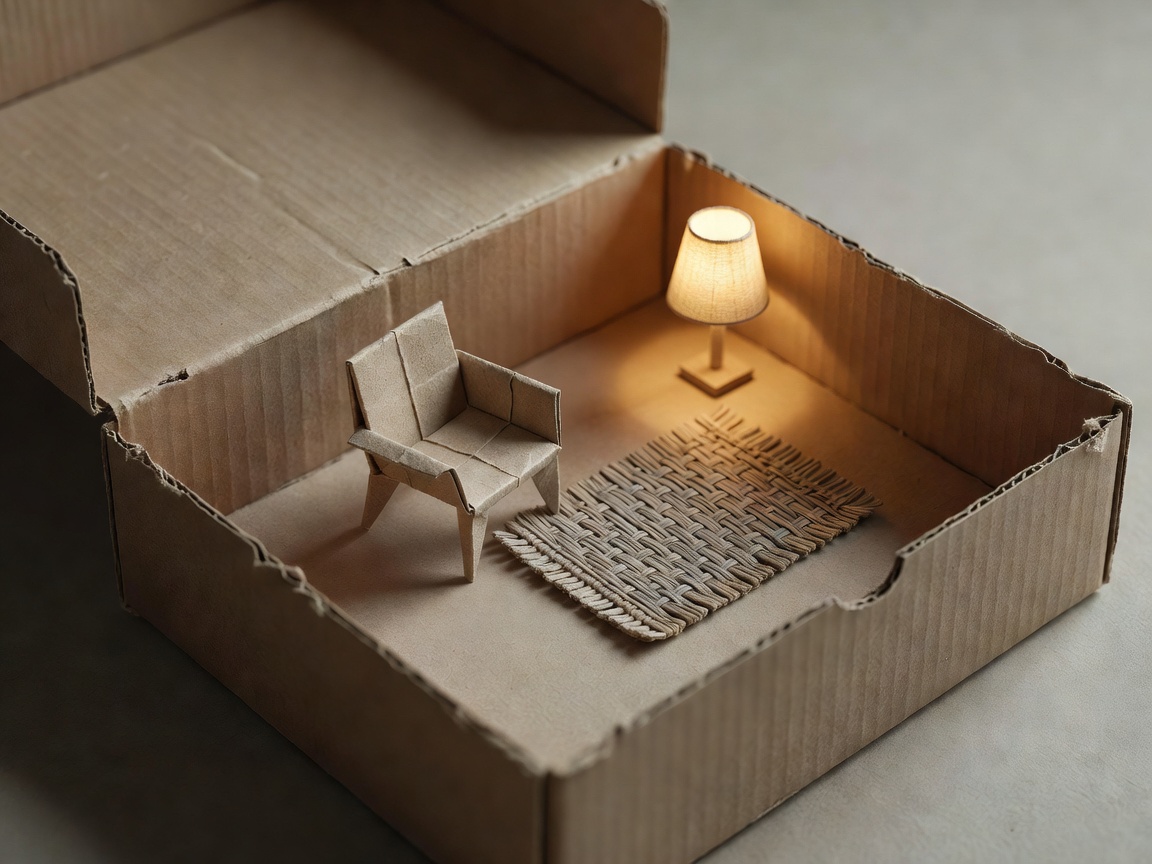
Small details sell scale. Real rooms have dust in the corners, a slightly peeling skirting board, a book left open. Fine sandpaper becomes a rug, printed wood grain at reduced size becomes floorboards, and a bottle cap becomes a lampshade.
Build in layers: something close to the lens, the action in the middle, a wall or backdrop behind. Even a single blurred foreground plant adds depth. Wes Anderson's Fantastic Mr. Fox (2009) shows how flat, front-facing staging can also be a deliberate style. Choose depth or flatness on purpose.
And keep it imperfect. Visible handmade texture is part of why audiences love stop-motion.